What’s In Season During The Month Of October?
What’s In Season During The Month Of October?
At E. Armata Inc., our goal is to keep our customers satisfied year-round. That is why we have grown a network of shippers and growers that allow us to distribute fresh produce during each of the 12 months. This October, make sure to take a trip to the Hunts Point Produce Market to purchase some of our delicious produce. To learn what will be in season, please visit our website.
The Fruits
Fruits should make up an essential part of your daily food consumption. They are filled with natural sugars that give your body the energy it needs to complete everyday tasks. Many fruits also help keep you full throughout the day, allowing you to eat less and manage your weight. Fruits always taste their best when they are in locally in season, so we recommend purchasing the following from us this October:
- Apples.
- Figs.
- Grapes.
- Pineapple.
- Pomegranate.
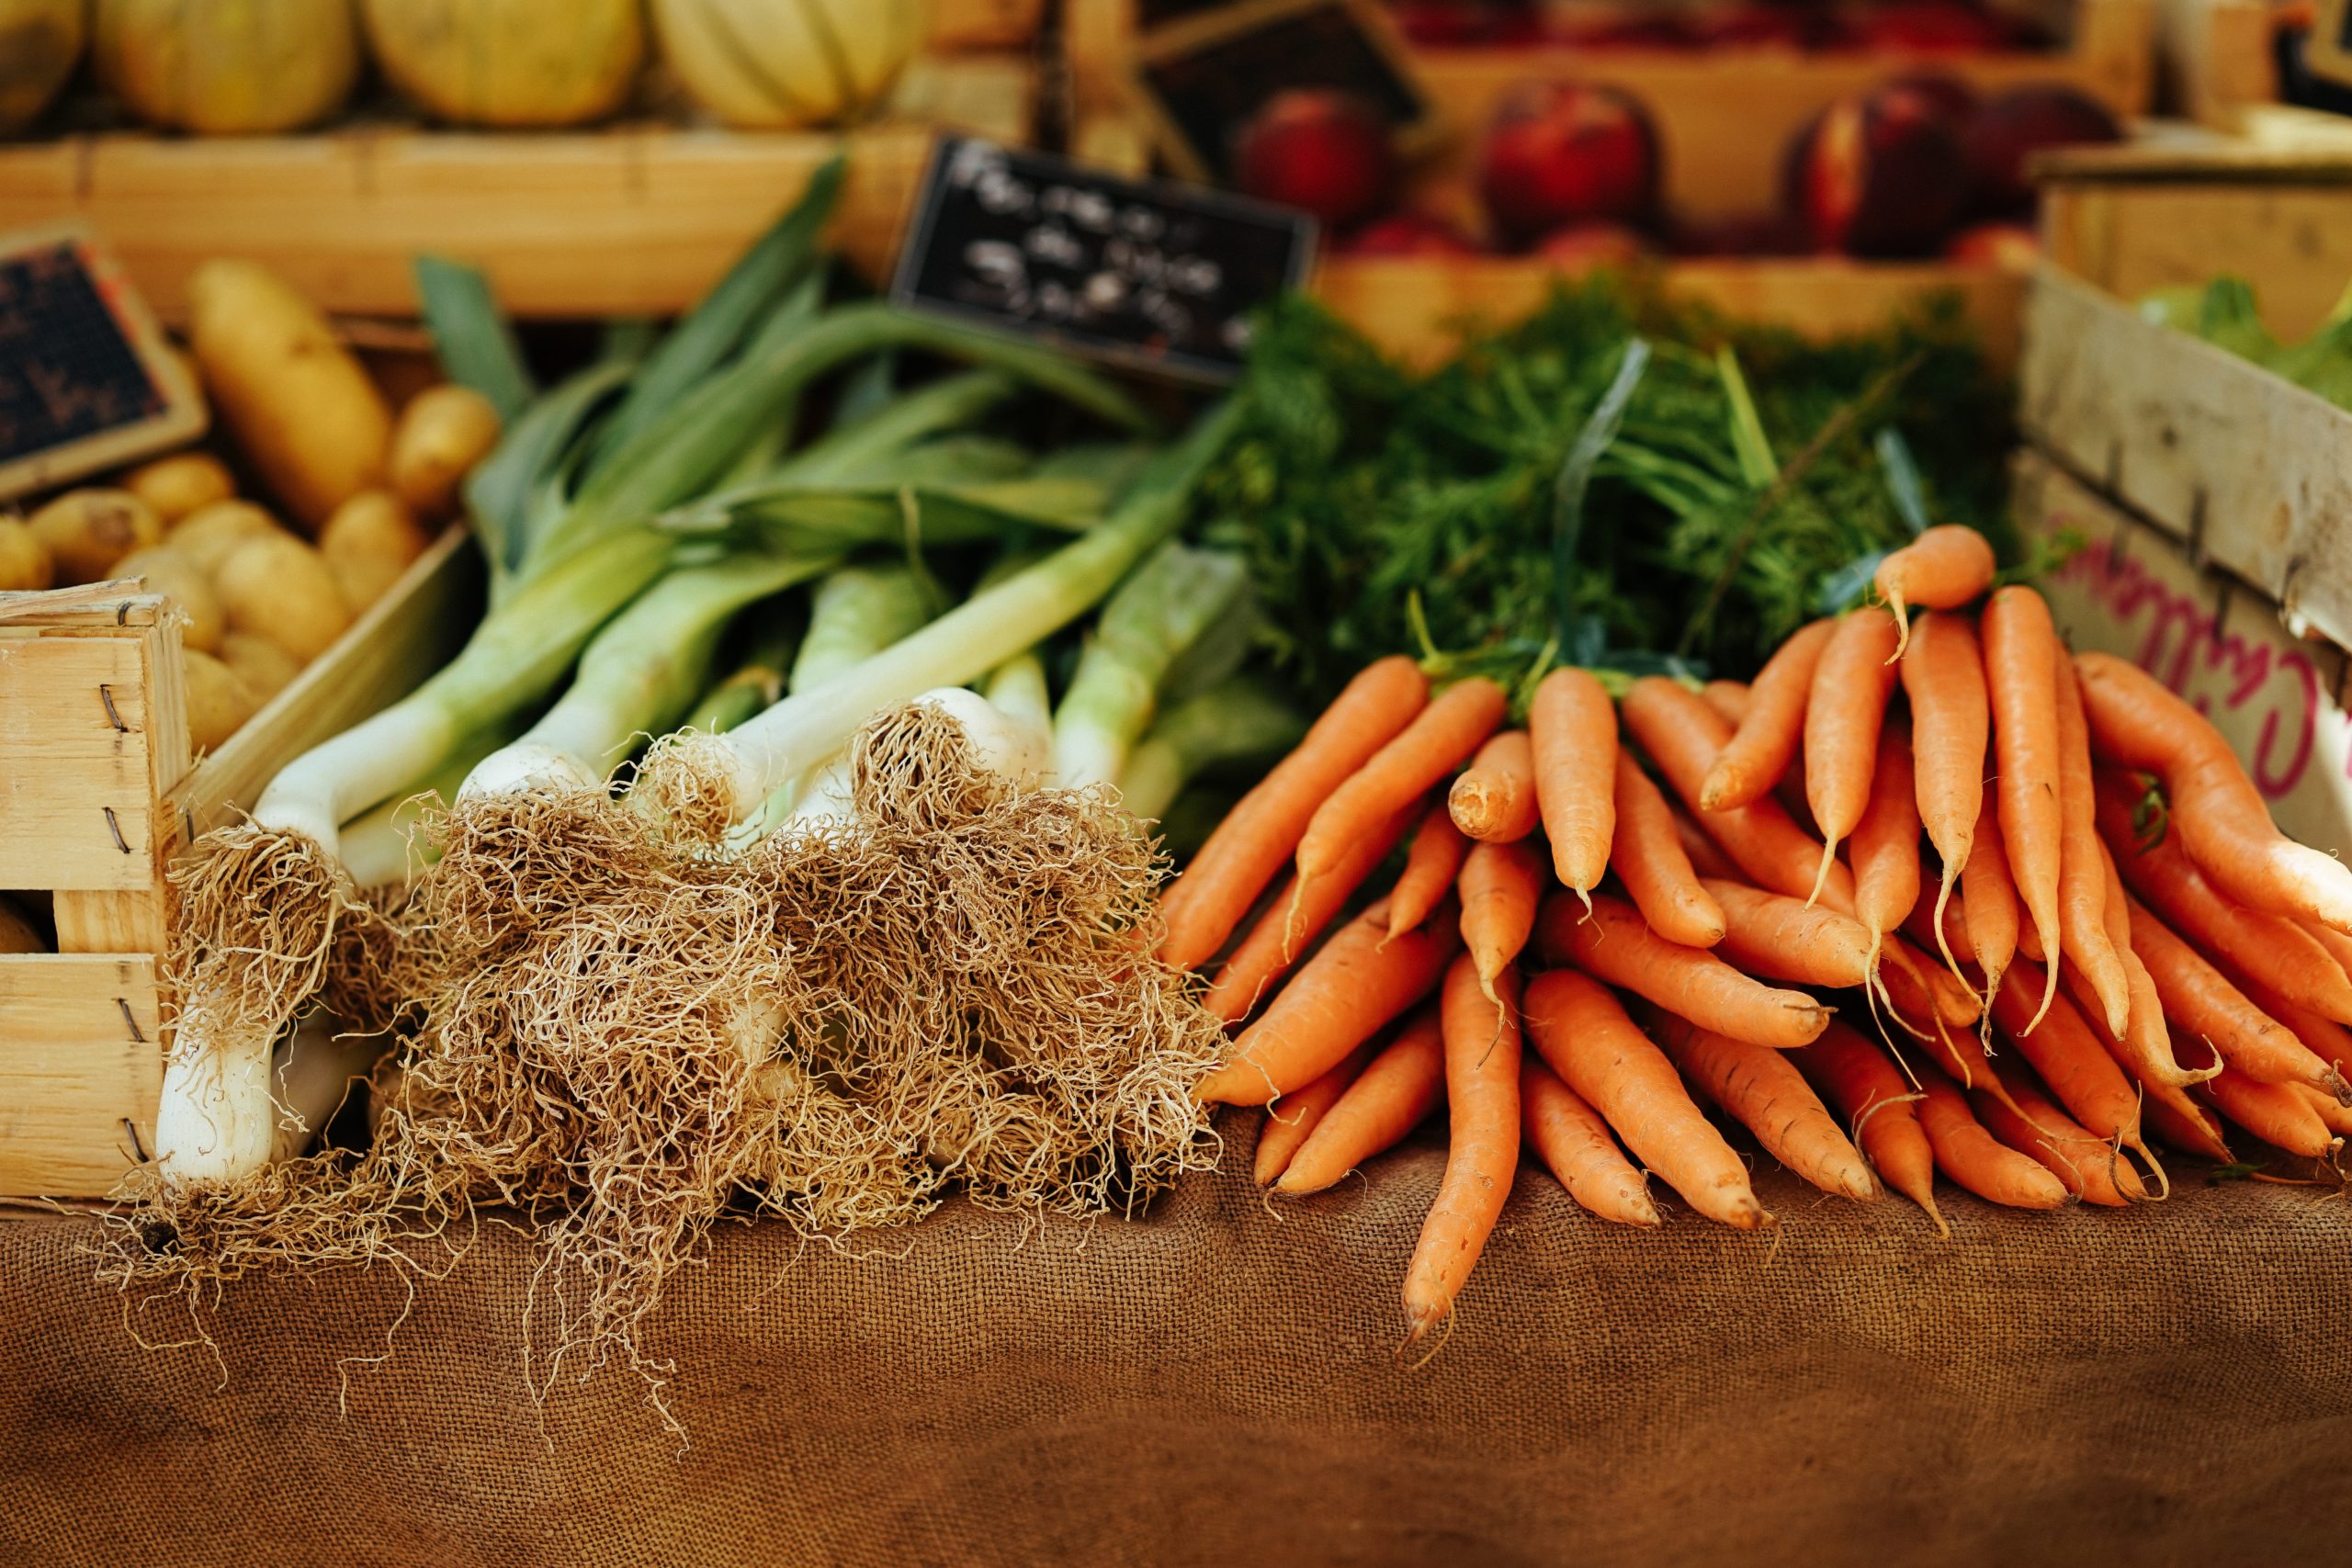
The Vegetables
Vegetables are an equally important part of a healthy diet. They can be consumed raw, or diced up and cooked in a variety of healthy recipes. Much like with fruit, eating vegetables is a great way to have you feeling full for long periods of the day. If you visit the Hunts Point Produce Market during October, we recommend picking out the below vegetables:
- Cauliflower.
- Cabbage.
- Potatoes.
- Mushrooms.
- Leeks.
Why Choose E. Armata Inc. At The Hunts Point Produce Market?
When looking for produce to purchase at the Hunts Point Produce Market, there will undoubtedly be many distributors to choose from at this location. However, all pale in comparison to us here at E. Armata Inc., as we have spent years cultivating relationships with the highest quality growers and shippers. We’ve carefully vetted everyone who joined our network to ensure our high excellence standards are always met. We put the customer first, and want them to be happy with any purchases that are made.
Contact Us At The Hunts Point Produce Market
While we hope you purchase some fresh produce from us this October, why stop there? Every month we have fruits and vegetables in season and ready to be distributed to our consumers. For more information on our operation, or to have any questions answered, contact our team today.